Step-by-Step Guide to Starting Your First Raised-Bed Garden
The idea of growing my own little garden always felt exciting-but also a bit intimidating. So one weekend, I decided to give it a try. With a few wooden planks, a handful of soil, and lots of hope, I built my first raised-bed garden on the balcony. At first, the box looked like just dirt. But when tiny green leaves started to grow, it turned into something really amazing. This is the great idea of raised-bed gardening. It gives us joy, calm, and confidence with every new sprout.
Do you want to grow your own herbs, veggies, or flowers? A DIY raised garden bed is perfect for you! It's easy to set up, great for beginners, and brings nature right to your doorstep. Let's build your first raised-bed garden together! Here's how:
Step 1: Choose the Perfect Spot
Choose a sunny spot with at least 5-6 hours of sunlight a day. Your raised-bed garden can thrive on a terrace, balcony, or even a small backyard. Pick up a space that’s easy to access and water regularly.
Step 2: Pick the Right Materials
You can make your DIY raised garden bed by using wood, metal, or even any recycled materials. Wooden beds are the most popular- they look natural and blend beautifully with green surroundings.
Step 3: Prepare the Soil Mix
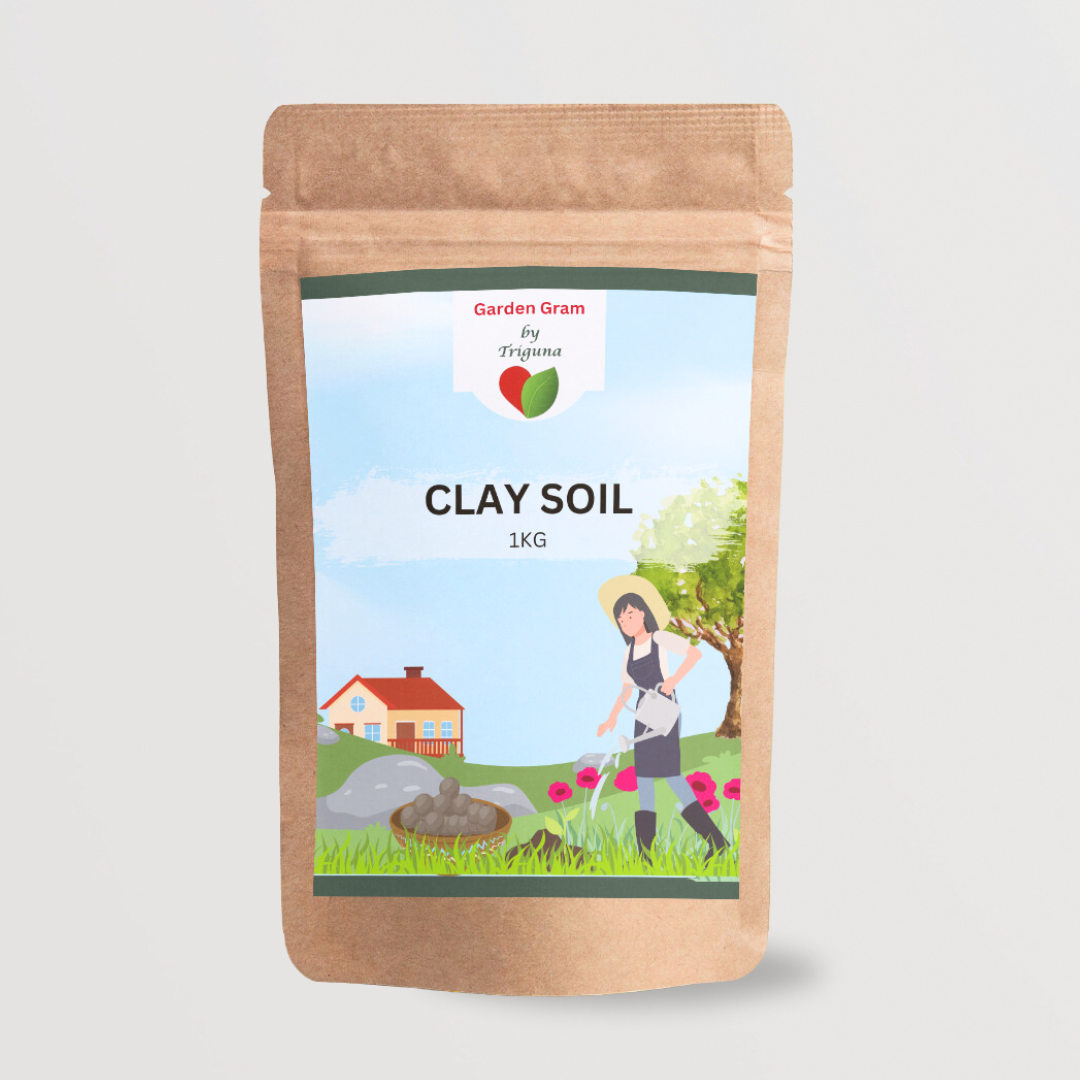
Your plants deserve the best start. Use a mix that drains well yet holds enough moisture.
Here’s a simple blend you can follow:
-
40% garden soil
-
40% compost or organic manure
-
20% cocopeat or perlite for aeration
This mix gives your plants healthy roots and helps them to grow stronger and faster. Try our Organic Potting Mix, made from nutrient-rich compost and cocopeat - perfect for raised-bed gardening.
Step 4: Choose the Right Plants for Your Raised-Bed Garden
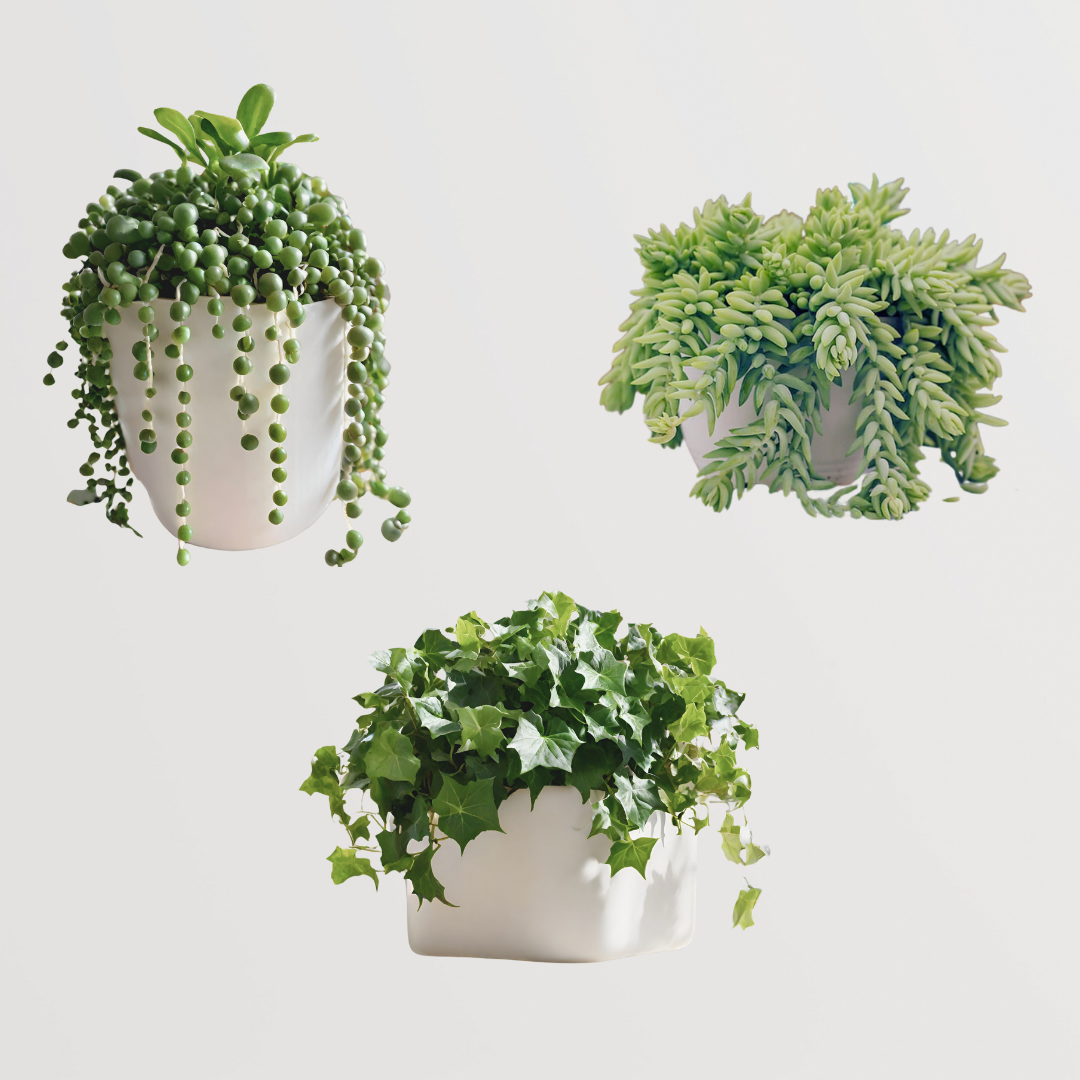
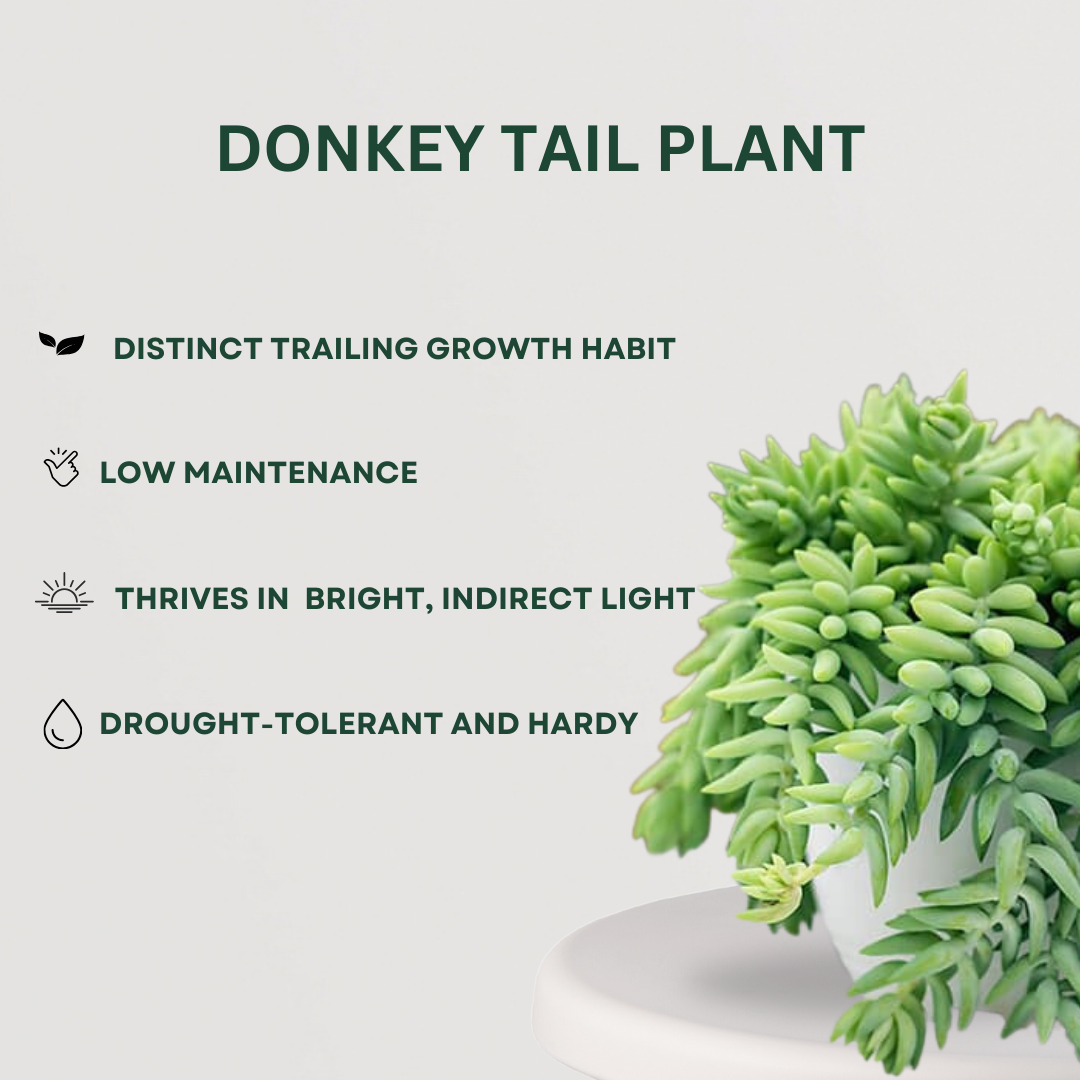
One of the joys of raised-bed gardening is the freedom to grow what you love- from crisp veggies to colorful blooms. For beginners, it’s best to start with easy, low-maintenance plants that thrive in raised soil and sunlight.
Try these beginner-friendly plants:
-
Spinach, lettuce, and kale – perfect for quick, fresh harvests
-
Tomatoes and peppers – great choices for sunny corners
-
Herbs like basil, mint, or coriander – they add freshness and fragrance to any meal
If you’re gardening during the cooler months, add some winter flower plants in India to bring color and charm to your space. These blooms thrive in mild winters and look stunning in DIY raised garden beds.
Here are a few must-haves for your winter raised-bed garden:
-
Petunias – bright and easy to care for
-
Marigolds – perfect for festive winter gardens
-
Pansies – add cheerful colors and love the cold
-
Dianthus – hardy, fragrant, and long-lasting
-
Calendula – the golden flower of winter, full of warmth and brightness
Mixing flowering plants with herbs and veggies creates a balanced, lively space that not only looks beautiful but also attracts pollinators and promotes healthy growth.
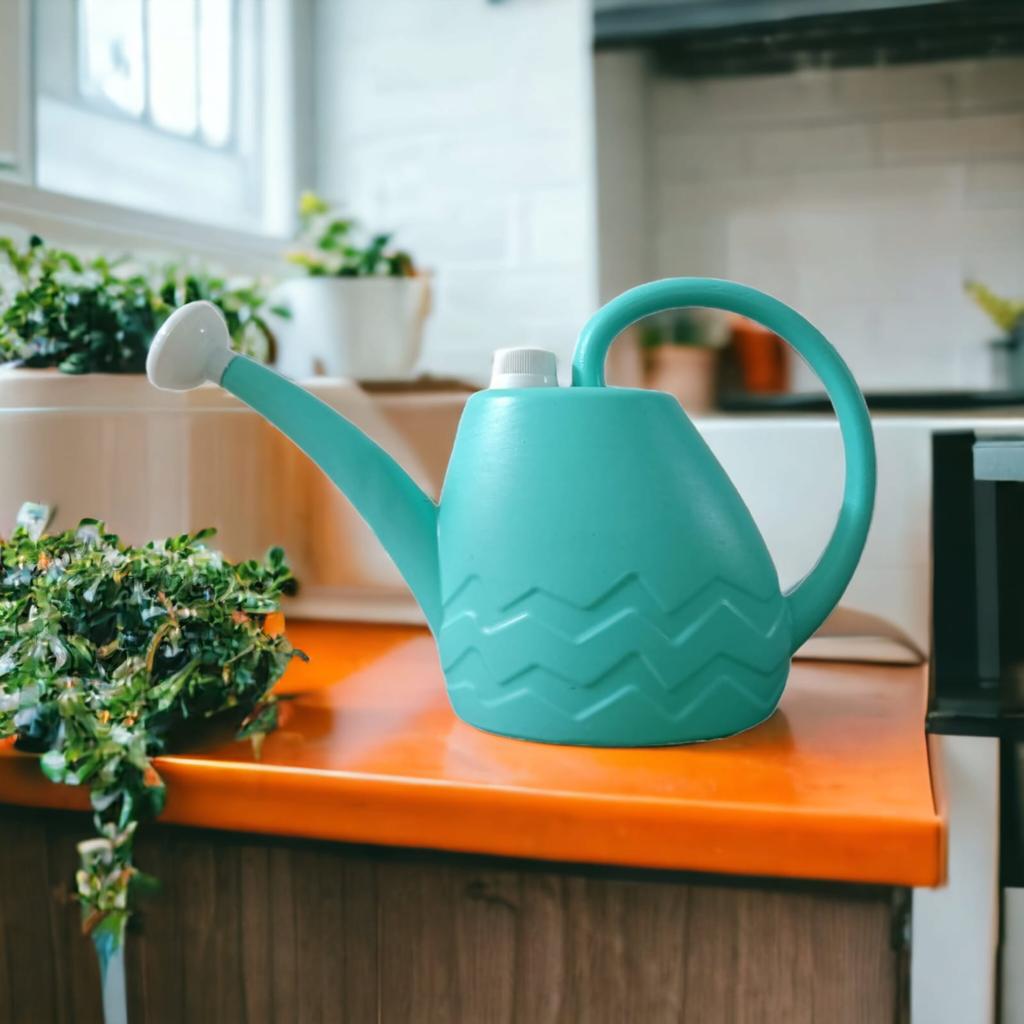
Step 5: Water & Care Regularly
Water your plants in the morning or evening when the sun isn’t too strong. Keep the soil moist but not soggy. Mulching with dry leaves or coco husk can help retain moisture and reduce weeds.
Don’t forget to check for pests and prune your plants occasionally. These small habits keep your raised-bed garden lush and healthy.
Step 6: Enjoy the Rewards
There’s something truly special about plucking fresh herbs or vegetables that you’ve grown yourself. It connects you to nature in a deeper way- a small act of care that fills your day with peace.
Your first DIY raised garden bed doesn’t need to be perfect- it just needs a start. And with every new leaf, you’ll feel more confident, more connected, and more alive.
Dreaming of growing your own greens but don’t know where to start?
Join our Gardengram Raised-Bed Gardening Workshop and learn how to build, plant, and care for your very own raised garden bed- step by step!
It could be your balcony, terrace, or backyard; this hands-on session will teach you everything you need to grow fresh herbs, veggies, and flowers right at home.